By Katie Azevedo, M.Ed.

There are multiple ways to organize school materials using binders, notebooks, folders, and accordion files. This guide will teach you how to organize a school binder. It also includes tips for students with ADHD. The binder set-up I teach below can work for middle school, high school and college students.
Tips for choosing a school binder
Staples, Amazon, and Target are full of school binder options: zipper, 3-ring, ones with pockets, ones with velcro. The rule is to choose a binder with the least friction. In other words, choose one that is easy to open, easy to close, and easy to add papers to.
More tips for choosing an academic binder:
- Choose a 3-ring binder only if you plan to use folders inside (more on that in the subsection titled how to set up your school binder below)
- Avoid 3-ring binders without using folders; otherwise, you’ll have to hole-punch all your papers.
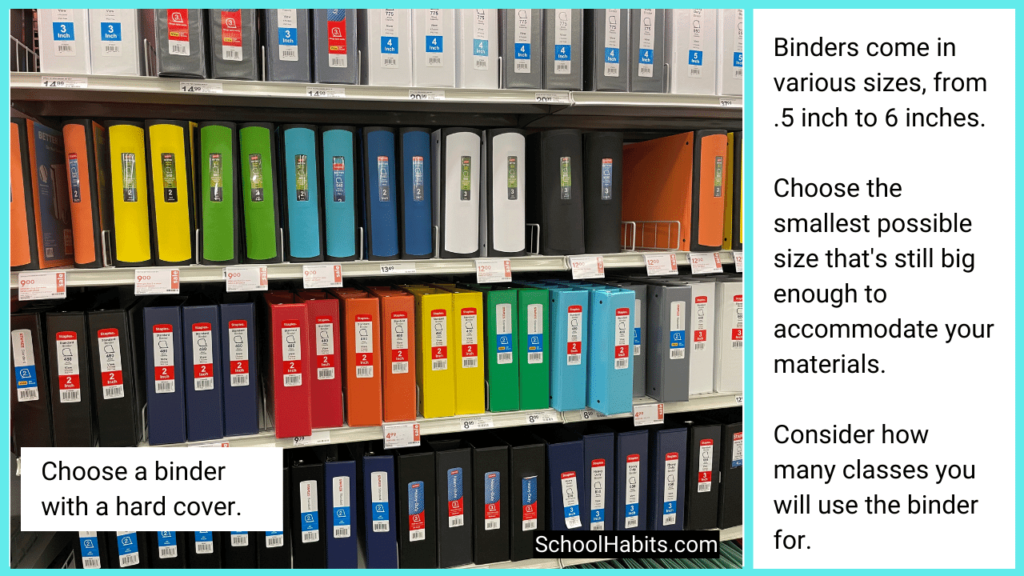
- Choose a binder with a solid front and back cover. Avoid flimsy covers.
- Velcro-close binders are a good choice if you often carelessly throw things in your backpack. Velcro can keep the covers from getting jammed.
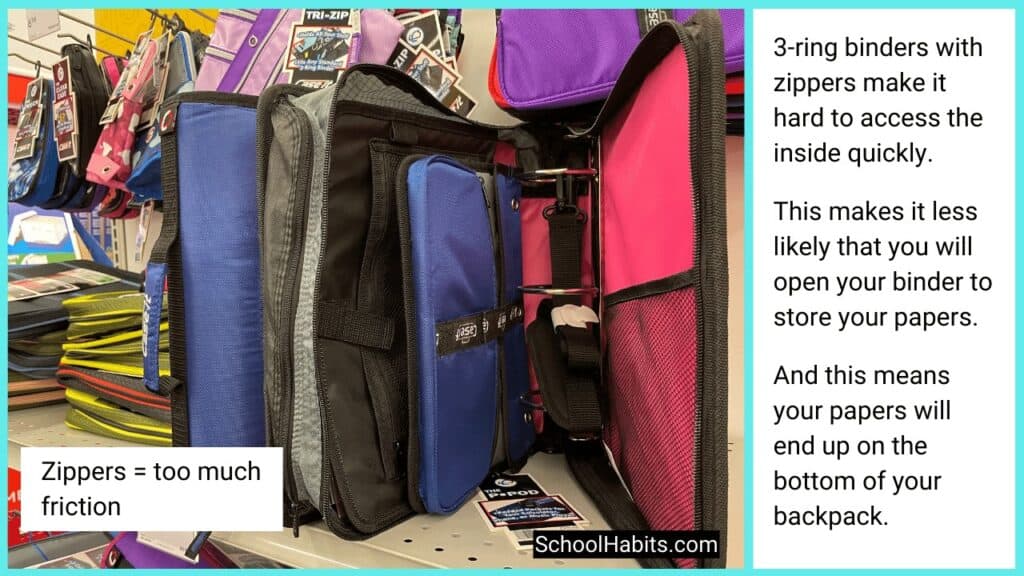
- Avoid zipper binders if you feel rushed at the end of class. Zippers are friction.
What size school binder to get
Three-ring binders come in many sizes, from .5 inch to 6 inches. (That’s huge; don’t get that one.) Purchase the smallest size possible that fits all your subjects without jamming your papers on the rings.
First, think about how many courses you will use your binder for. For one class, a 1-inch binder is usually enough. If you will use your binder for five classes, then you might need a 3 or 4-inch binder.

Second, think about what you will put inside your binder. I talk about different binder sections and materials further down in this blog post. Things to consider: will you be adding folders? A pencil pouch? Notebooks or loose-leaf paper? The more you add, the larger the binder needs to be.
Other school binder materials you may need
In addition to the actual binder, you will likely need a few other items to keep your school binder organized:
- Folders
- Tabbed dividers
- Pencil pouch (optional)
- Slim 3-hole punch
- Loose-leaf paper (lined, graphed)
- Notebooks with 3-hole punches
- If you have ADHD, consider these tips for choosing school supplies
How to organize your school binder: Setting up the sections
The front section
If you are keeping a pencil punch in your binder, it goes in the front. The first section of your binder is also where you clip in your slim 3-hole punch. We don’t put these in the back, because they create bumpy writing surfaces. The last item to go in the front section is a copy of your schedule. You can use a sheet protector like this one. (Another option is to slip your schedule inside the plastic pocket on the outside cover of your binder if it comes with one.)
The middle section
If you’re using your school binder for multiple classes, you need a section for each class. Use tabbed dividers to separate these sections. Label the tabs with your class names.
For each class section, you will need a folder and paper. Unless you plan to hole-punch all your papers (really?), use the folder for handouts and worksheets. For paper, you can use loose-leaf or a 3-hole-punched single-subject notebook. Up to you.
- The first item to add in each section, right up front, is frequently used reference materials. This would include a periodic table for chemistry class, a formula reference sheet for math, etc. Slip these in sheet covers, or hole punch them.
- Next, add your syllabus if you have one. If it’s only available online, print it out.
- Next, add your loose-leaf paper or notebook. If using loose-leaf paper, start with 20 sheets or so. You can always add more.
- Lastly, add your class-specific folder.
Here is an outlined recap of the items that go in each class section. I list them in the order I suggest you add them to your binder.
- Tabbed divider with the class name written on the tab
- Reference materials stored in a sheet protector
- Syllabus
- Loose-leaf paper or notebook
- folder
The last section
The last section of your school binder, behind each of your divided class sections, is a separate section for papers that aren’t for any specific class. This would include permission slips, forms for extracurriculars, password lists, etc. Use another labeled tabbed divider for this section. You may also want to add a folder so that you don’t have to hole-punch everything you add here.
Tips to keep your school binder organized
Knowing how to organize your school binder and set it up in a friction-free way is the first step. Follow the tips above to create a binder that’s easy to use and add to. The second step is to keep your binder organized throughout the school year.
To keep your papers and materials organized, be sure to go through each class section regularly (weekly or monthly) to:
- throw away old papers
- move out-of-place materials to the correct spot
- remove unit notes and papers that you no longer need (clip them together and take them out of your binder until you need them for a final)
- empty the front pocket of whatever papers you crammed in there
- add new loose leaf paper to empty sections when necessary
Other tips for keeping your binder organized:
- If your teacher gave you any materials digitally and you’d prefer them on paper, print them out and store them in your binder.
- You can use the inside front-cover pocket to store homework that needs to be submitted the next day. But, don’t leave worksheets in this pocket for more than a day or two.
- If your school binder falls apart or breaks during the year, get a new one.
Related Resource: 3 Quick Organization Tips for High School and College Students
How to organize a school binder if you have ADHD
Students with ADHD and executive dysfunction often need more support to get and stay organized. Managing school materials, keeping papers neat, remembering to turn in paper-based homework, and storing class worksheets/notes in the right sections are all challenges for people with ADHD.

In addition to the tips above – which are also written with ADHD in mind – you might consider the following tips for organizing a binder for school:
- Avoid zippered binders entirely.
- Choose an open binder (no clasp) or one with easy-open Velcro.
- Use one large binder for all classes.
- Add a special section in the front for homework. This can be the first section in the binder before the class-specific sections. Add a folder to this section.
- Use a Sunday Routine to go through the binder and organize papers, tidy the sections, throw away junk papers, and check for homework that hasn’t been turned in.
- Use color-coded tab dividers. Match your folder color to the tab color for each class. (Blue tab for English; blue folder for English.)
- Choose the right lined paper for your handwriting. You may need wide-ruled lines if your handwriting is large.
- Use graph paper for all math work.
- Store your assignment notebook inside the binder, near the very front. You can purchase an assignment notebook with 3 holes.
Additional Resources
- 100 of my best organization tips for college students
- All my organization resources
- All my ADHD resources
- My ULTIMATE resource for building executive functions

