By Katie Azevedo M.Ed.
In this blog post, I am going to teach you how to study using mind mapping. Mind mapping is a great strategy for brainstorming, taking notes, and studying. It’s a particularly helpful study method for visual learners, or students who prefer information to be organized visually. If you allow me to get a little bold here, I might even argue that mind mapping can be fun.
Just keep in mind that good results often come from using more than one study strategy, so if you plan to study using mind mapping, you might also want to add in the blurting method and interleaved practice.
What is Mind Mapping?
Mind mapping is a technique where you create a visual web-like diagram of the meaning of a word or concept. You do this by identifying related words, concepts, facts, dates, and keywords and forming connections between them.
Mind maps look like webs, with the primary word in the center and related words and concepts branching off from there. But you can also vary the appearance according to your preference using colors, shapes, arrows, etc.
How Does Mind Mapping Work?
Mind mapping works by encouraging you to more fully understand a concept by exploring it from multiple angles. Mind maps help you see connections between ideas, which is an essential step of the learning process. (Actually though, like on a neurological level.)
Mind mapping also works by the nature of it being an active recall study method. True legitimate study techniques involve active recall. (Any “study method” that doesn’t involve active recall is not an effective study method.) When you first create a mind map, you can use your notes and resources to fill it in. But the ultimate goal is to be able to create the mind map without using any notes – and this is active recall at its best.
What Materials Will I Need to Make a Mind Map?
You can make a mind map on paper, a whiteboard, or a digital app or program that allows you to draw. On the iPad, you could use an app like Notability. You could also use Freeform or any other digital program that lets you draw with your finger or a stylus. If you don’t have a physical limitation that prevents you from writing, always draw or write your mind maps by hand instead of typing them. If you’re a kinesthetic learner, it can be effective to draw your mind maps on a whiteboard.
You will also need your class notes and materials to complete your mind map, as well as pens or markers if you’re drawing it by hand.
How to Study Using Map Mapping
There are a few key steps to making a mind map to study. I explain them below. But beyond the core steps I teach here, you can have fun with adding flair and making your mind map look the way you want it to look so that it works better for you.
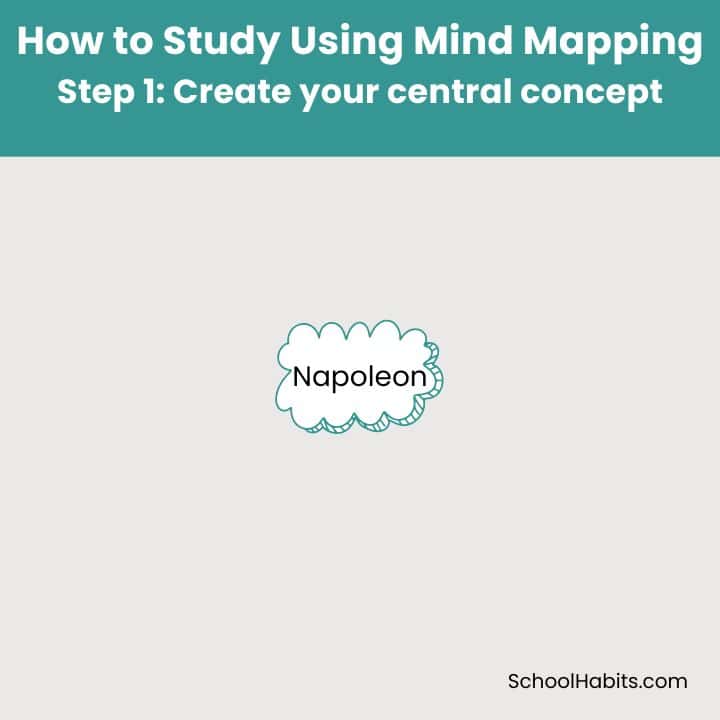
Step 1. Create Your Central Concept
Choose a concept you want to learn and write in the center of your paper. Circle it.
Step 2. Brainstorm and Write Layer-One Concepts
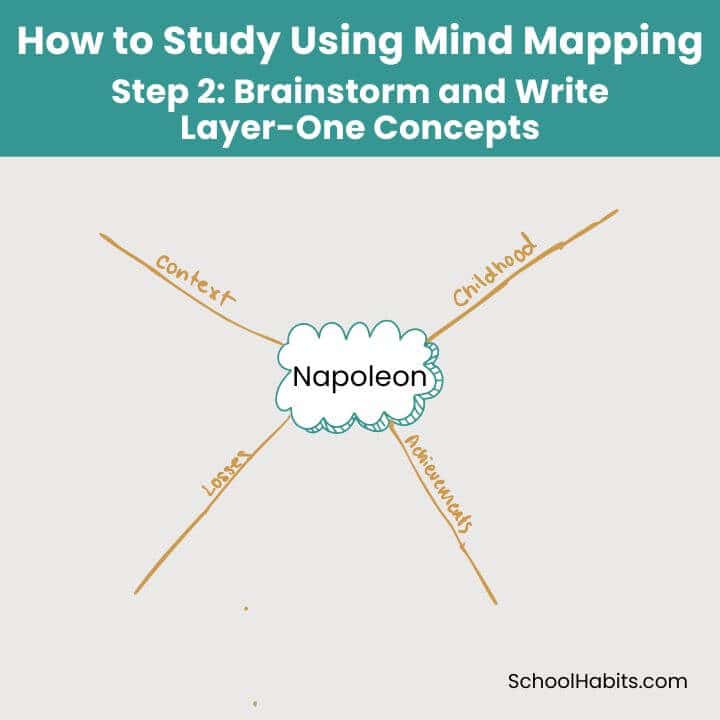
Think of concepts that are related to your center concept. These can be categories examples, variations, similar concepts, deeper ideas, off-shoots … don’t hold back. Be creative and let your mind come up with whatever it comes up with. Connect these new words to the center concept with straight or curved lines. In the example below, I use the following categories: childhood, context, achievements, and losses.
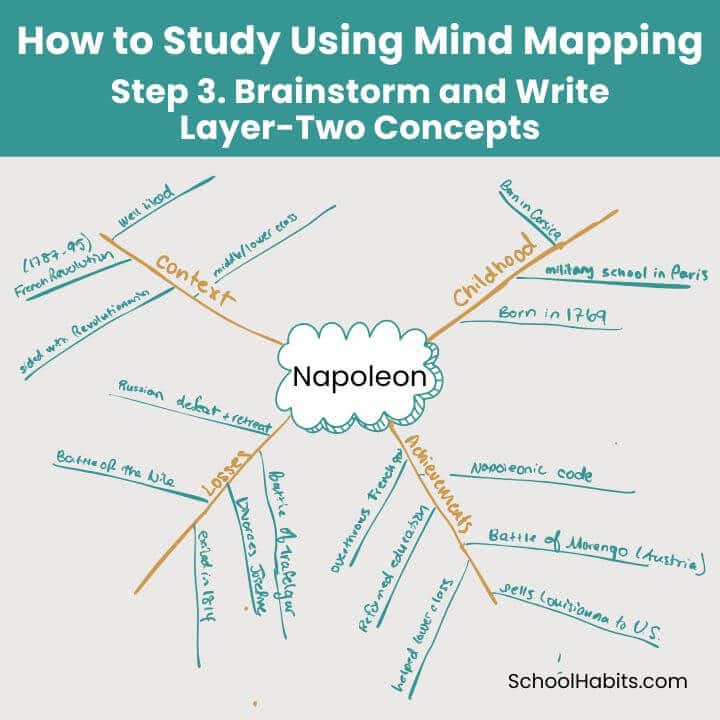
Step 3. Brainstorm and Write Layer-Two Concepts
Look at your Layer-One Concepts one at a time. Follow the same process from Step 2, and think of examples, variations, similar concepts, deeper ideas and off-shoots of those Layer-One words. These are now your Layer-Two concepts. Connect these new words to the center concept with straight or curved lines.
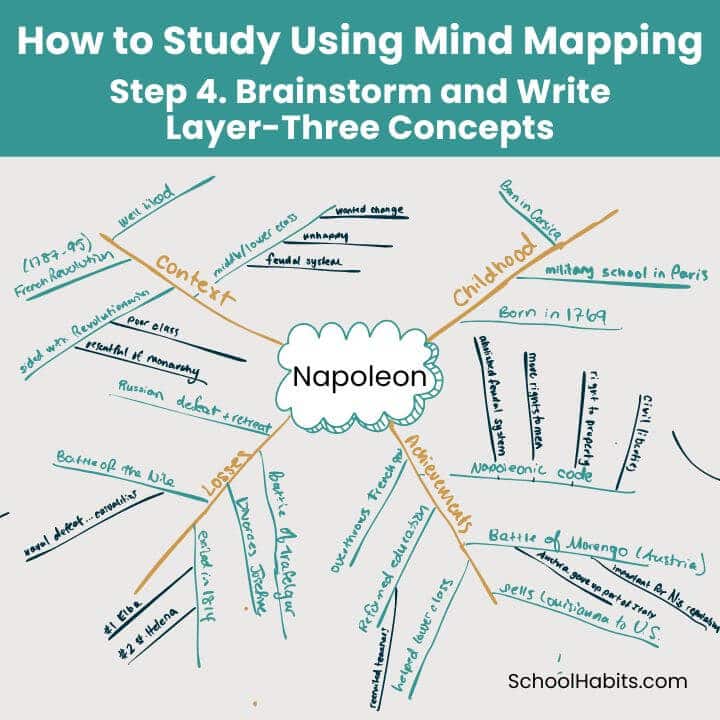
Step 4. Brainstorm and Write Layer-Three Concepts
If you need to continue branching out deeper to another layer, go ahead and do so. As you add layers, you will probably find that you have fewer concepts to add. This is normal.
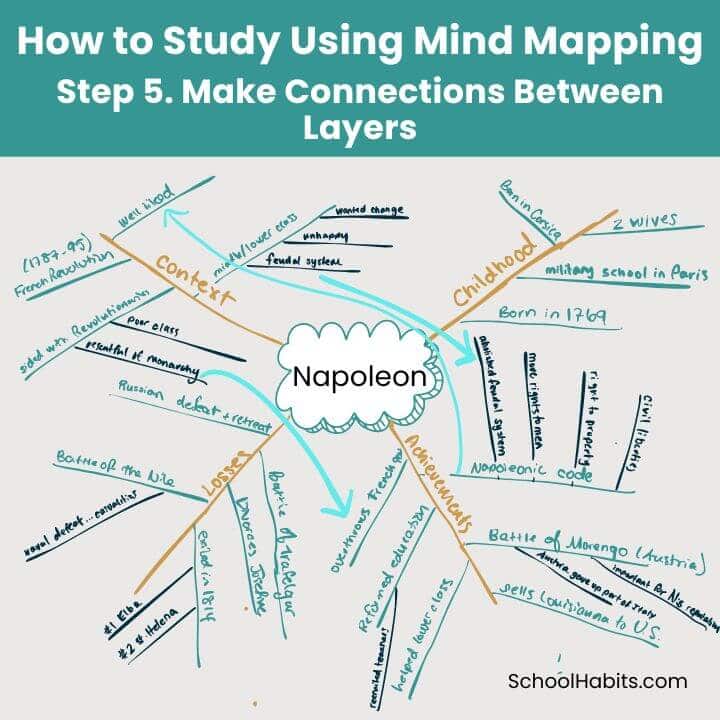
Step 5. Make Connections Between Layers
When you’ve filled out all the layers of your mind map and can’t think of any more new concepts, words or examples to add, it’s time to step back to see the “big picture.” Look at everything you’ve added to your mind map, and draw connections between concepts that you hadn’t originally connected.
Maybe now you see that a Layer-One concept is related in a way to a Layer-Three concept. If that’s the case, draw a line between the concepts. Making these connections helps strengthen your understanding of the Central Concept. This is an important step and while it’s tempting to skip, do not.
Best Practices for Making Your Mind Map
Keep the following tips in mind when creating your mind map.
1. The first time you create your mind map, you may only have a few Layer-Two concepts (and no Layer-Three concepts). That’s okay! You’ll be able to fill out your mind map more thoroughly as you learn the material better.
2. Always attempt to fill out your mind map without using any resources first. Then, when you can’t think of any more related ideas or connections, it’s okay to look at your notes to fill in the gaps.
3. Keep your concepts to a few words at most. A good rule of thumb is that all concepts (things you write on the “branches”) should be between one and four words. Summarizing and consolidating larger ideas into a few words helps you understand the material, so this is a key best-practice to keep in mind.
4. When thinking about what to write on each of your branches, allow yourself to be creative. It’s okay to think of ideas out of order, and it’s okay to think outside the box. Everyone’s mind works differently and makes connections at a different rate. The reason mind mapping is such a great study method for visual learners is that the strategy allows you to think freely and non-linearly.
